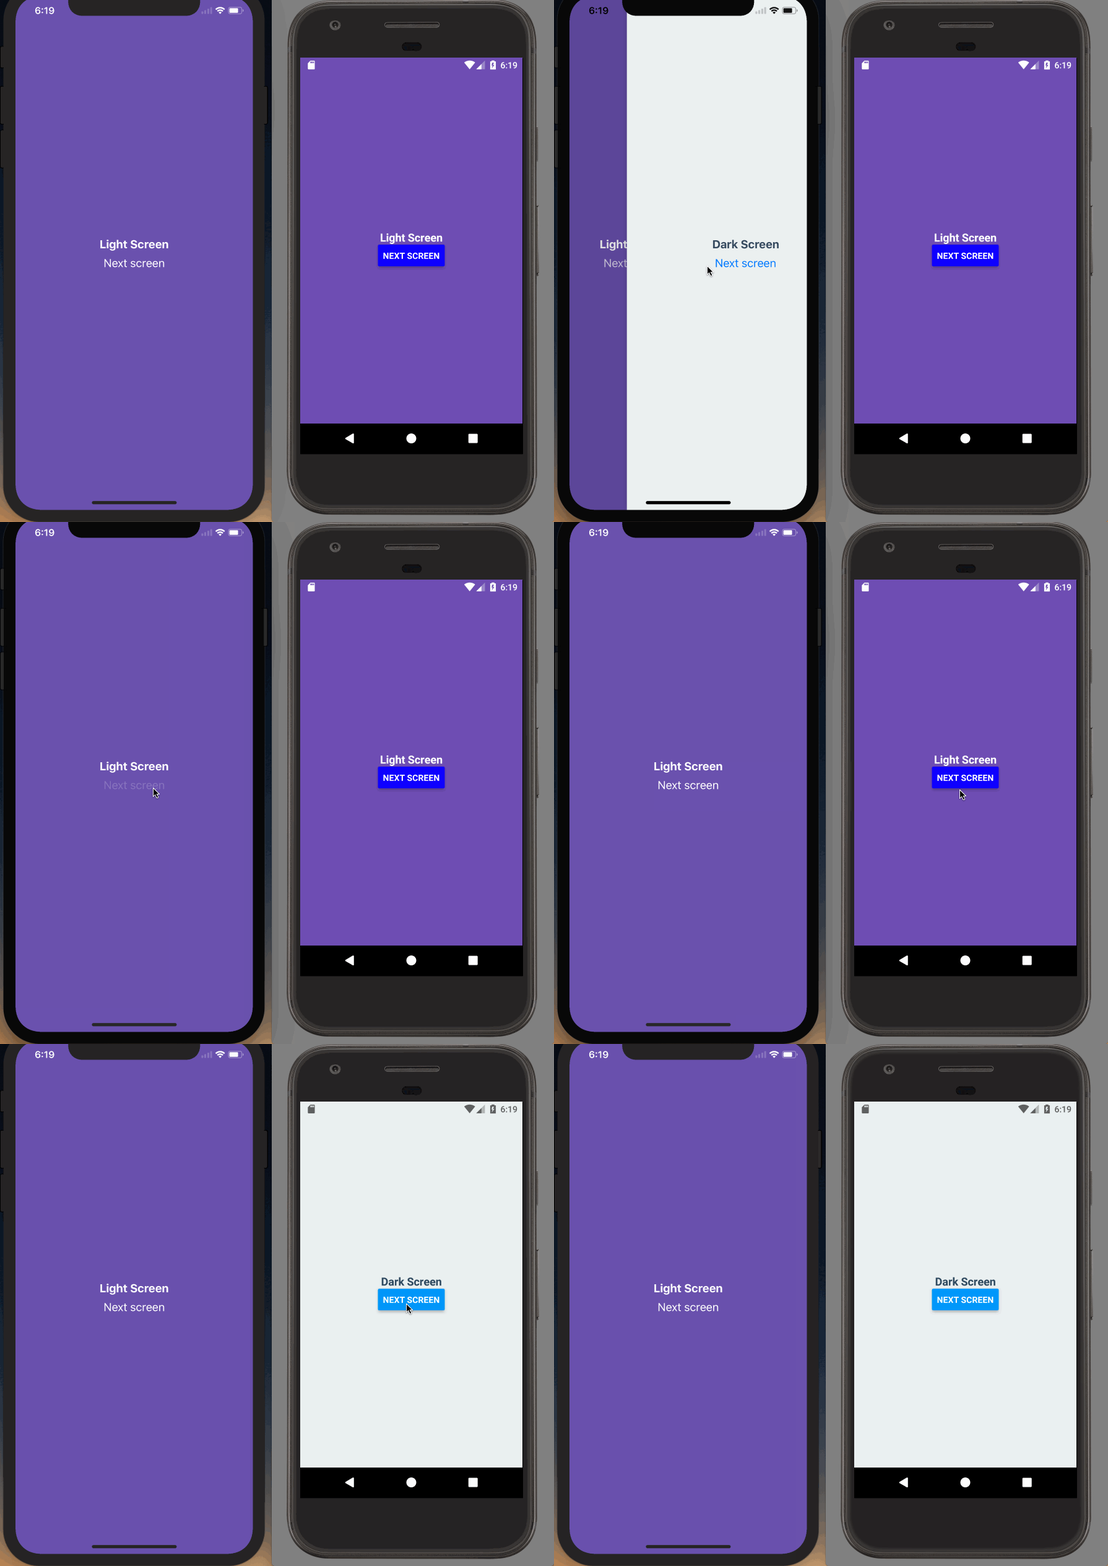
Different status bar configuration based on route
If you don't have a navigation header, or your navigation header changes color based on the route, you'll want to ensure that the correct color is used for the content.
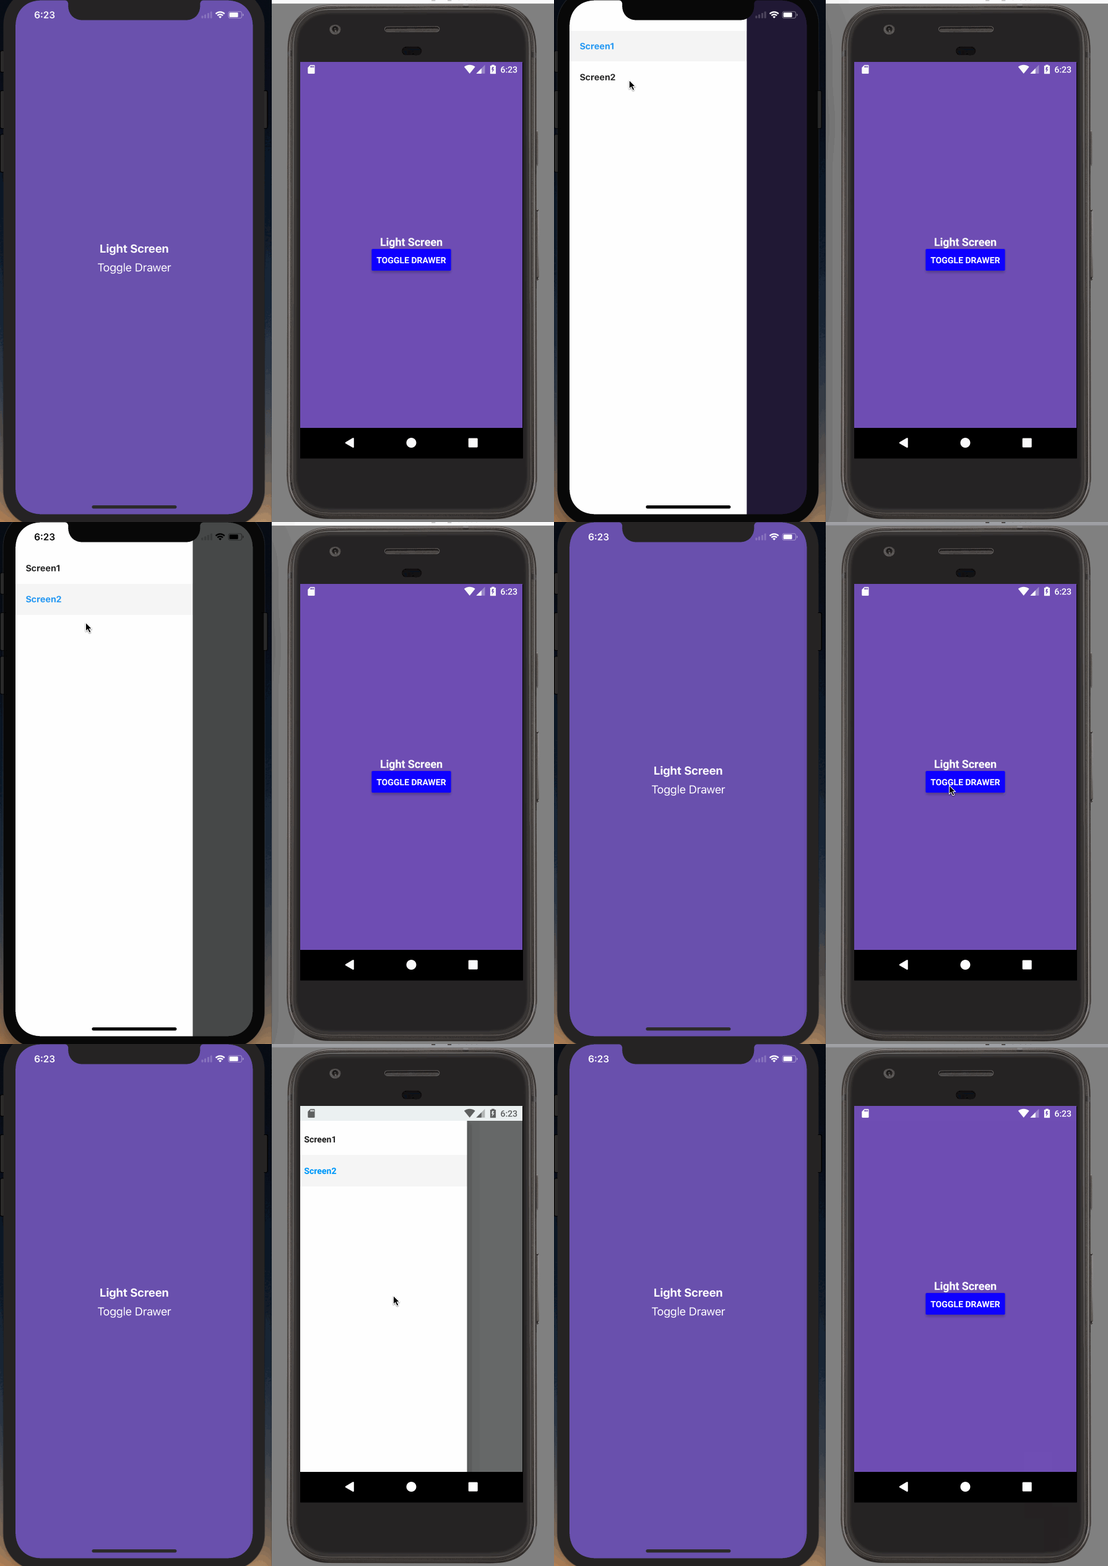
StackNavigator and DrawerNavigator
This is a simple task when using the StackNavigator or DrawerNavigator. You can simply render the StatusBar component, which is exposed by React Native, and set your config.
class Screen1 extends React.Component {
  render() {
    return (
      <SafeAreaView style={[styles.container, { backgroundColor: '#6a51ae' }]}>
        <StatusBar barStyle="light-content" backgroundColor="#6a51ae" />
        <Text style={[styles.paragraph, { color: '#fff' }]}>Light Screen</Text>
        <Button
          title="Next screen"
          onPress={() => this.props.navigation.navigate('Screen2')}
          color={isAndroid ? 'blue' : '#fff'}
        />
      </SafeAreaView>
    );
  }
}

class Screen2 extends React.Component {
  render() {
    return (
      <SafeAreaView style={[styles.container, { backgroundColor: '#ecf0f1' }]}>
        <StatusBar barStyle="dark-content" backgroundColor="#ecf0f1" />
        <Text style={styles.paragraph}>Dark Screen</Text>
        <Button
          title="Next screen"
          onPress={() => this.props.navigation.navigate('Screen1')}
        />
      </SafeAreaView>
    );
  }
}
export default StackNavigator(
  {
    Screen1: {
      screen: Screen1,
    },
    Screen2: {
      screen: Screen2,
    },
  },
  {
    headerMode: 'none',
  }
);

export default DrawerNavigator({
  Screen1: {
    screen: Screen1,
  },
  Screen2: {
    screen: Screen2,
  },
});

TabNavigator
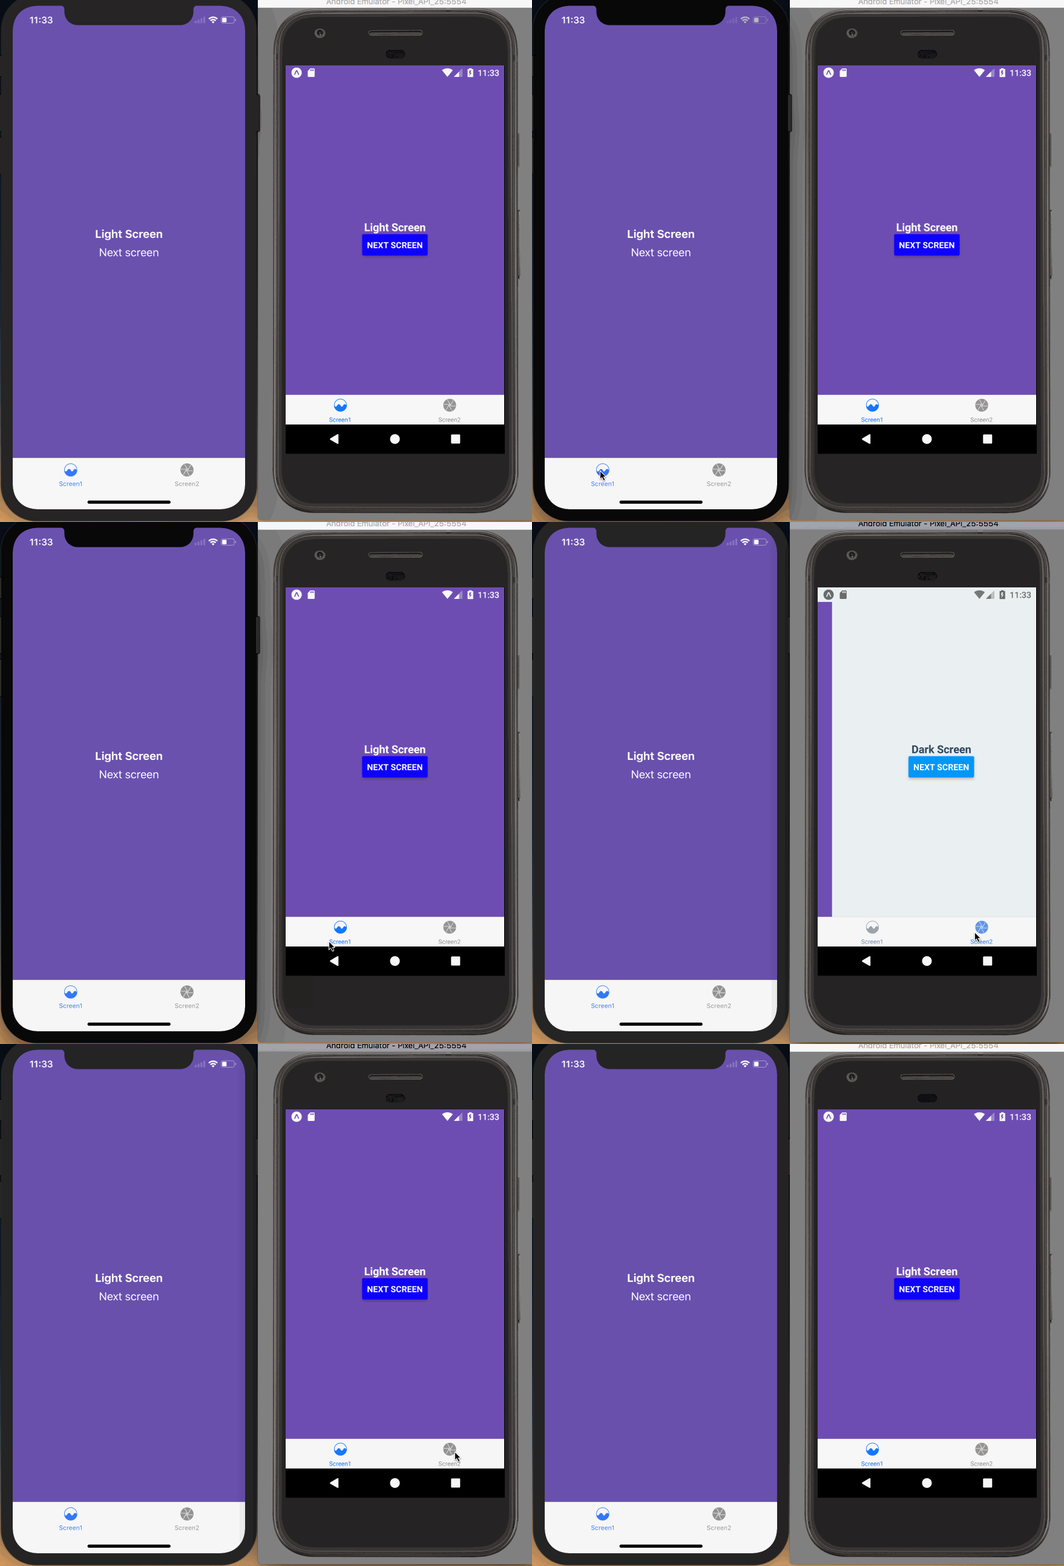
If you're using a TabNavigator it's a bit more complex because the screens on all of your tabs are rendered at once - that means that the last StatusBar config you set will be used (likely on the final tab of your tab navigator, not what the user is seeing).
To fix this we'll have to do two things
- Only use the
StatusBarcomponent on our initial screen. This allows us to ensure the correctStatusBarconfig is used. - Leverage the events system in React Navigation and
StatusBar's implicit API to change theStatusBarconfiguration when a tab becomes active.
First, the new Screen2.js will no longer use the StatusBar component.
class Screen2 extends React.Component {
  render() {
    return (
      <SafeAreaView style={[styles.container, { backgroundColor: '#ecf0f1' }]}>
        <Text style={styles.paragraph}>Dark Screen</Text>
        <Button
          title="Next screen"
          onPress={() => this.props.navigation.navigate('Screen1')}
        />
        {/* <Button
          title="Toggle Drawer"
          onPress={() => this.props.navigation.navigate('DrawerToggle')}
        /> */}
      </SafeAreaView>
    );
  }
}
Then, in both Screen1.js and Screen2.js we'll set up a listener to change the StatusBar configuration when that tab didFocus. We'll also make sure to remove the listener when the TabNavigator has been unmounted.
class Screen1 extends React.Component {
  componentDidMount() {
    this._navListener = this.props.navigation.addListener('didFocus', () => {
      StatusBar.setBarStyle('light-content');
      isAndroid && StatusBar.setBackgroundColor('#6a51ae');
    });
  }

  componentWillUnmount() {
    this._navListener.remove();
  }

  ...
}

class Screen2 extends React.Component {
  componentDidMount() {
    this._navListener = this.props.navigation.addListener('didFocus', () => {
      StatusBar.setBarStyle('dark-content');
      isAndroid && StatusBar.setBackgroundColor('#ecf0f1');
    });
  }

  componentWillUnmount() {
    this._navListener.remove();
  }

  ...
}

The code used for these demos is available as a Snack.